Sunday, 20 February 2011

Commissioned Valentine's Card

My work colleague asked me to make a Valentine's card for his fiance and I was really touched so wanted to make it extra special. The only guidance he gave me was that it should be pink and cartoon type characters would be okay. I thought it would be the perfect opportunity to use one of my cute squares from Lili of the Valley - the rest came together quite easily and I was really proud of the finished card. I really love this style and use Bev as my inspiration (check out the stunning cards on her blog).


The flowers wouldn't fit in a normal envelope so I made a matching box tied with pink satin ribbon for the card to be given in instead.


Supplies
Image - Love & Romance Cute Squares from Lili of the Valley
Papers - Madly In Love by Die Cuts With a View
Cardstock - Core'dinations
Sentiment - Stamp Calendars by Lili of the Valley
Ticket - Whimsy Shapeology Ticket Die & Ticket Sentiments Stamp Set
Punch - Lace Hearts by Martha Stewart
Roses - www.iamroses.com
Pearls - Nail Gems from Poundland
Ribbon - Pink Satin Ribbon from The Range
Card Blank - 148mm Square Scalloped Cards from Craftwork Cards


I'd like to enter this card into the following challenges:

Saturday, 19 February 2011

Secret Santa Swap

I know this is a bit late as Christmas was well over a month ago but we arranged a Secret Santa over on Crafty Place. Unfortunately it didn't quite go to plan and although I sent a present, I didn't receive one, so I was a bit disappointed. The lovely Melissa came to the rescue as we were in a three-way swap. She sent me all the goodies below, which was such a lovely and unexpected suprise to receive.


The best thing of all though was this absolutely stunning notebook which was included in the package. It's completely handmade by Melissa with a Bind It All and has loads of beautiful details. It really is special so I daren't use it and have currently propped it up on my craft shelves for inspiration...

Wednesday, 16 February 2011

Valentine's Gifts...

I'm ashamed to say that I didn't actually make my boyfriend a Valentine's card. Instead I made him a gecko friendship bracelet (he has two Leopard Geckos). I haven't made one of these for years and this one was particularly difficult with 19 strings! Lots of hours and two attempts later I finally had something to be pround of and he loved it.


Martin actually hand-made this card off his own back and I was really touched. He's fascinated when I craft and sometimes watches me so he's obviously been learning. Bless him, he had to cut all the decoupage out by hand as couldn't figure out the Craft Robo...

Monday, 14 February 2011

Paper Rosette Tutorial

Debbie (aka paddingtondoo) asked me how I made the rosette on my last card so I thought i'd put together a quick tutorial...

To make a rosette, you'll need a strip of paper just over 2cm wide by 25cm long (keep the offcut for later). You're also going to need a scoreboard, small circle punch approximately 2cm across and PVA glue.


Score the stip at 5mm intervals all the way along. If you have a Scorepal like me then I scored every 1cm then moved the paper 5mm to the right and again scored every 1cm.


Fold the strip along your score lines alternating the direction of each fold so that you end up with a zig zag shape (when looking from the side).


Apply PVA glue to a 5mm section at one end. You can also use double-sided tape if you don't want to wait for the glue to dry.


Overlap and stick the ends together to form a paper loop. If you've used PVA glue then I recommend holding the join to make sure it's stuck properly before you proceed to the next step.


Gather the loop at the top to form a cone and then gently push down in the centre to flatten out the rosette.


Punch or cut out two circles approximately 2cm in diameter in a co-ordinating colour to your rosette. This is where the offcut from earlier comes in handy!


Flip your rosette over and glue one of the circles to the centre with PVA glue or double sided tape. At this point you need to squeeze the edges of the rosette towards the centre to keep it tight.


Turn the rosette over and glue the other punched circle into the centre and you have your finished rosette:

Sunday, 13 February 2011

Photo Light Tent

The natural light in our house is absolutely awful and I normally have to use flash when taking photos of my cards. I find this really washes the colours out and makes them look quite flat. Of course there's also the issue of glare from the flash, particulary with glitter, mirri card, etc.

Recently I brought a photo studio light tent kit from eBay for about £34, which came complete with light tent, tripod, two lights and four different coloured backgrounds. It's absolutley brilliant and is going to mean i'll be able to take much better quality photos (i'm also loving the black background as it looks really professional).

I used it to photograph my last card - what do you think?

Wednesday, 9 February 2011

Simply Sassy DT Card

As the title suggests this card was made for the Simply Sassy DT call, which actually ended on 29th January. When I came to enter my card though I realised I was too late and it had already closed :-( I was gutted so didn't bother posting my card and have only just got round to it. Anyway these stamps are stunning and an absolute pleasure to colour - I only own three but love them, especially their eyes! This card is very on trend with the bunting and rosette...


Supplies
Image - Simply Sassy Bella Bunting by Sugar Nellie
Papers - Tickled Pink by My Mind's Eye
Bunting - Friendly Flags by Hero Arts
Sentiment - Stamp Calendars by Lili of the Valley
Rosette - handmade using my Scorepal
Gems - Quixotic Paperie
Card Blank - 148mm Square Scalloped Cards from Craftwork Cards

ProMarker Colours
Skin - Apricot, Oatmeal, Blush, Ivory, Pale Pink
Hair - Black, Cool Grey 5, Cool Grey 4, Cool Grey 3
Outfit - Salmon Pink, Cocktail Pink, Soft Green

Monday, 31 January 2011

Craft Stash Tidy-Up

I've had a super busy weekend as spent hours organising all my crafty stuff. When I started making cards I stored all my stash in the living room down the side of one of our sofas. This was fine in the beginning but was starting to look really untidy as all my purchases mounted up! So, after a couple of eventful trips to Ikea, i've now organised everything into my lovely brand spanking new Lack bookcase. It's much easier to access what I need so feels like a new lease of life for my mojo...

Before:


After:

Tuesday, 25 January 2011

Fishing Birthday Cards

My boyfriend's Dad and Brother-in-Law share a birthday on 9th January. They're both fishing mad and we brought them both tackle so I decided to continue the theme in their cards!

This first one was quite simple to put together as I designed it for Martin to make for his Brother-in-Law. He cut everything out then insisted he wouldn't be able to assemble it straight, so I had to do that bit along with stamping the greeting. It uses one of the cute Lili of the Valley die cut squares, DCWV Stack 6 designer paper, Papermania Natural Raffia and an assortment of buttons that i've collected.


This second card was designed in Digital Scrapbook Artist 2 and then printed onto Matt Photo Paper. The photo I used is actually of a fish Martin's Dad caught last year! It felt a bit like cheating though so I added some stitching and eyelets, covered the letters in Glossy Accents then matted it onto some green cardstock. The card blank was 8" x 8" and is the first time i've used this size but it's perfect for projects like this with lots of detail.

Tuesday, 4 January 2011

All I Want For Christmas Card

I've been a bit behind posting photos of the Christmas cards I made but this is the last one I promise! This was for my boyfriend Martin who loves my handmade cards so I always try to make each one better than the last. I spent ages colouring the image with my ProMarkers and am so pleased with how it turned out, though the shading hasn't photographed very well...


I've decided that it's really useful seeing the supplies people have used on their cards, so have decided that i'm going to start adding this information to my posts!

Supplies
Image - Mistletoe Digi Stamp by Kenny K
Papers - Jovial by Basic Grey
Mirri Card - Secret Crafter
Sentiment - Computer Printed
Punch - Lace Heart by Martha Stewart
Ribbon - CraftyRibbons.co.uk
Gems - Poundland

Monday, 3 January 2011

Squidgy Christmas Cards

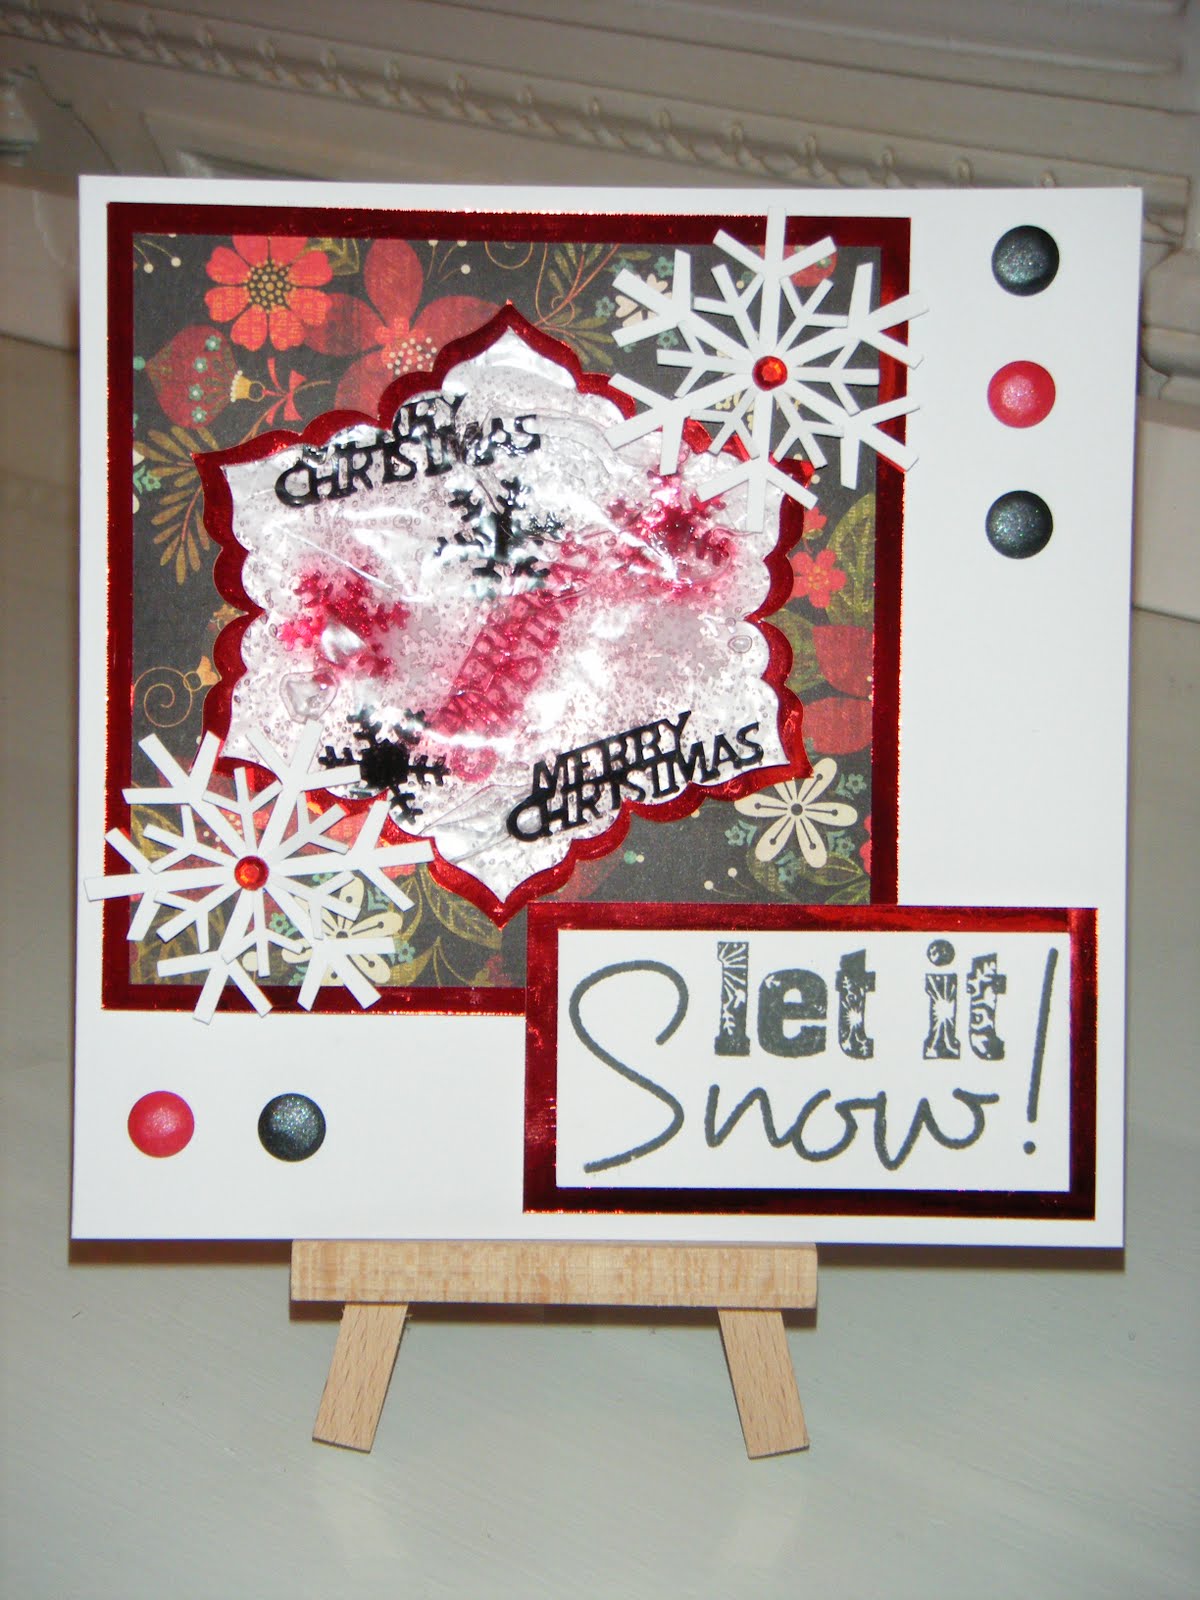
My colleague at work asked me to make some cards for him to give his family for Christmas. I suggested shaker cards as i'd just brought some plastic domes, but this lead him to ask for squidgy cards instead! This is what I came up with - the snowflake cut out is backed by a zip lock bag filled with hair gel and sequins. They were a bit messy to make but loads of fun to play with...


Tuesday, 28 December 2010

Christmas Design 2010

Last year I struggled to make a different Christmas card for everyone, so this time I decided to choose one design that I could repeat but changing the colours. I used a relatively simple design with elements I cut out on my Craft Robo. Even with Martin's help though it seemed to take forever to make 25 but i'm pleased with how they turned out and people seemed to appreciate them.


Wednesday, 22 December 2010

Boxed Cards to Sell

The girls at work keep asking when I'm going to bring in some homemade cards for them to buy, so I decided i'd make some Christmas cards to take in. I did four cards each of five different designs and boxed them up together. They were really well received and I managed to sell them for £10 a box, which I was really pleased with!


I actually had to make this extra as a special request for my colleague who loves all things penguin related...

Saturday, 27 November 2010

New Background Stamps

I haven't blogged for a while so thought i'd share with you my new background stamps i've brought from America. They are clear 5 inch square stamps by Impression Obsession and are an absolute dream to stamp with. There's over 50 designs I think and they work amazingly with Big & Juicy Ink Pads. The second photo is a quick example with a ruler to show the size...


Tuesday, 9 November 2010

Hobbycrafts Show at NEC

I had a great day at the NEC last Friday and was lucky enough to meet up with two of the lovely ladies from MSE. I got everything on my shopping list (plus a few extras) and my fingers were ready to drop off by the end of the day from carrying all my goodies! I love seeing what other people have brought so thought i'd share some photos of my stash:


I also got a Metric Scorpal which has been confiscated by Martin as he's giving it to me for Christmas...

Wednesday, 3 November 2010

Digi Scrapbooking?

I've never been overly interested in scrapbooking until I recently saw Digital Scrapbook Artist 2 advertised on Create & Craft. It looked so easy to create fabulous pages and there's loads of cool features! I downloaded the Compact version to have a play with before buying the full version. This is the first page i've done and it only took 30 minutes - what do you think?

Wednesday, 27 October 2010

World of Warcraft Birthday Card

This is a card I made at the beginning of the month for a colleague at work. He's a gamer and likes World of Warcraft so i've used his character, a background map from the game, WoW font and greeting. I'm happy to say he loved it though I think a lot of people were a bit confused when I passed it round the office to be signed!